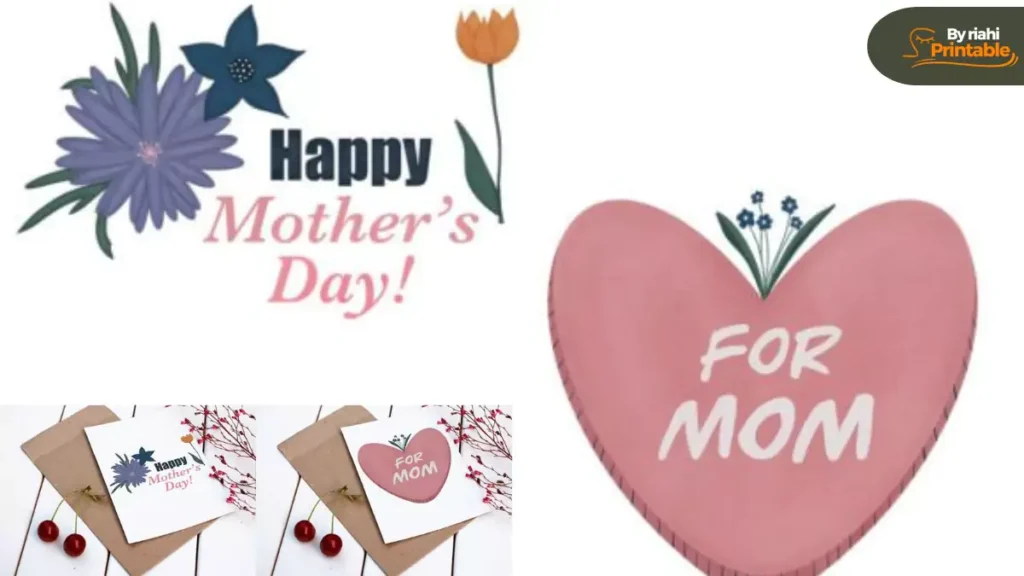
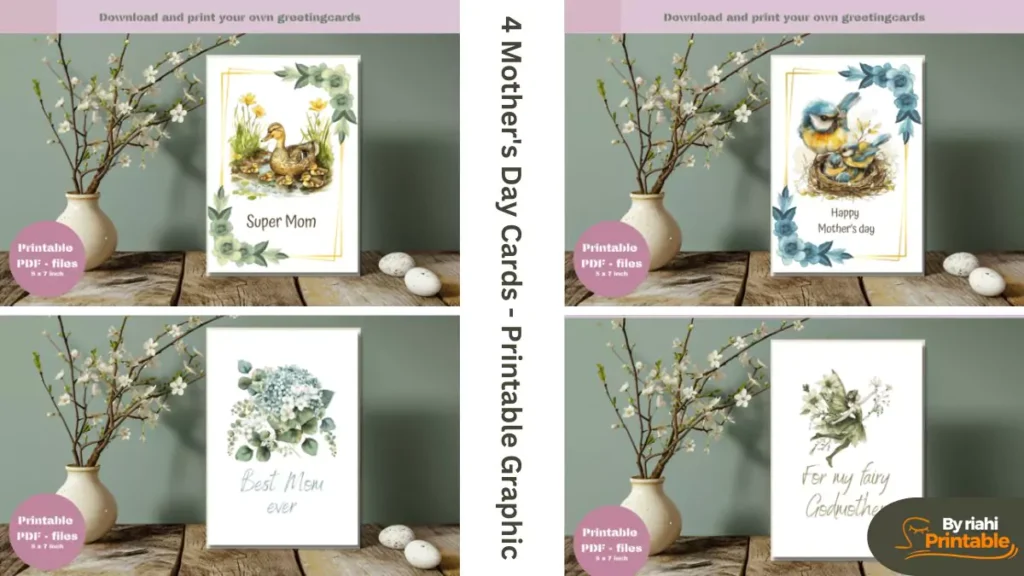
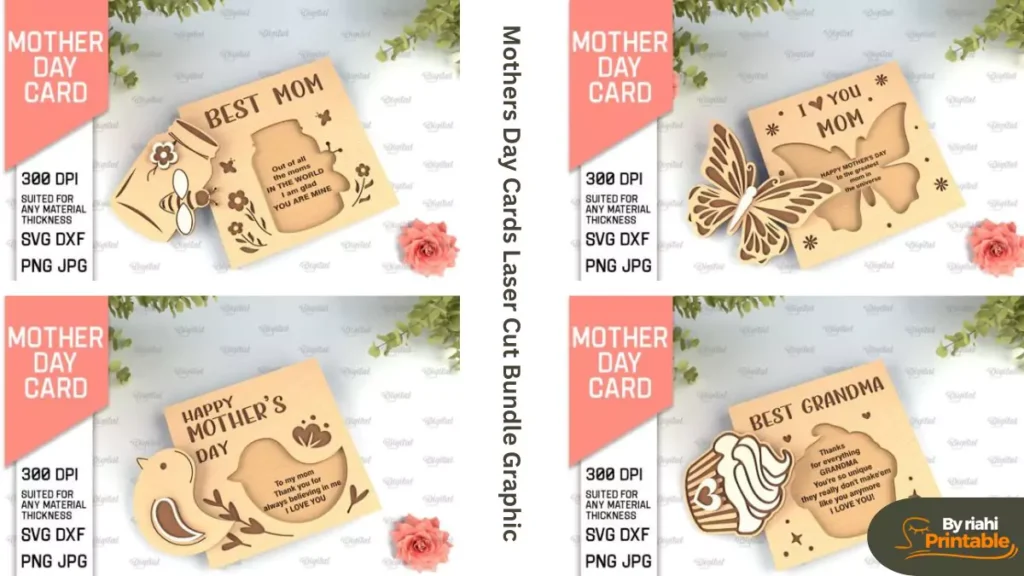
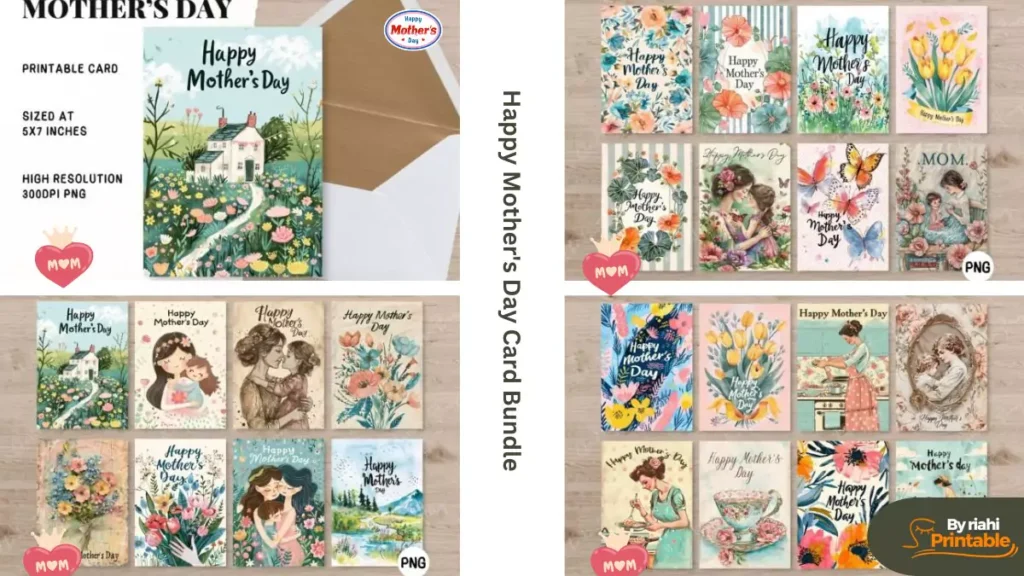
Free Printable Mother’s Day Cards for a Memorable Celebration
Free printable Mother’s Day cards, for this most special occasion. From a cheerful Mother’s Day breakfast in bed menu to delightful Mommy and Me memory books and inspiring quotes that capture the essence of mom’s awesomeness, these printables provide a unique way to show appreciation for moms. Including festive extras like door hangers and customizable gift tags, these resources are perfect for adding a personal touch to your celebration.
Embrace the joy of DIY and discover how to utilize these printables to craft memorable gifts and decor. This article guides you through finding inspiration, essential tools, and design tips for creating stunning printables.
Whether you’re designing a Mother’s Day card, custom gift tags, or a photo frame, we cover all bases to help you seamlessly incorporate these free Mother’s Day printables into your celebrations.
Why DIY Printables Make Great Gifts
Free Mother’s Day printables offer a unique opportunity to create gifts that are not only personalized but also meaningful. Here are some reasons why opting for DIY printables makes for an exceptional choice:
Personalization and Uniqueness
- High Degree of Customization: DIY printables allow you to tailor every aspect of your gift. Whether it’s a card, a photo frame, or a gift tag, you can add personal touches such as a heartfelt message or a favorite photo.
- Unique for Every Mother: Adapt the printables to reflect your unique relationship with your mother or grandmother. This could mean incorporating specific colors, themes, or quotes that resonate with your loved one.
- Perfect for All Ages: Children of any age can participate. Older kids and adults might take on the design themselves, while younger children can contribute by answering questions on a printable quiz or coloring a card.
Cost-Effectiveness and Thoughtfulness
- Affordability: Utilizing free printables is a cost-effective way to show appreciation without the expense of store-bought gifts. It’s about the thought and effort, not the price tag.
- The generosity of Time: Spending time to create something by hand shows a level of care and dedication that often surpasses the value of purchased gifts.
- Therapeutic Benefits: The process of designing and crafting can be a relaxing and meditative activity, reducing stress and enhancing your mood.
Eco-Friendly and Educational
- Sustainability: Many DIY printables can be created using upcycled materials, which helps reduce waste and conserve resources.
- Educational for Children: Engaging kids in crafting these printables teaches them valuable skills such as creativity, organization, and the importance of giving.
- Quality Time: Crafting together provides an excellent opportunity for family bonding and creating memories and beautiful gifts.
By choosing DIY printables for Mother’s Day, you’re not just crafting a gift but also an experience filled with personal touches and shared moments. This approach not only preserves resources but also creates an irreplaceable and cherished memory for both the giver and the receiver.
Essential Tools and Materials Needed
To embark on your journey of creating memorable Mother’s Day printables, it’s crucial to gather the right tools and materials. Here’s a comprehensive list to ensure you have everything needed for a successful DIY project:
Materials for Printables and Cards
- Cardstock or Fine Art Paper: Opt for sturdy printing paper like cardstock for most printables, which provides a high-quality finish and durability.
- Custom Tissue Paper: Create personalized wrapping with a regular printer and white tissue paper, perfect for adding a special touch to your gifts.
- Stickers and Labels: Utilize Avery shipping labels for full-color prints directly from a regular printer or create custom stickers using a thermal printer for a professional look.
Tools for Cutting and Designing
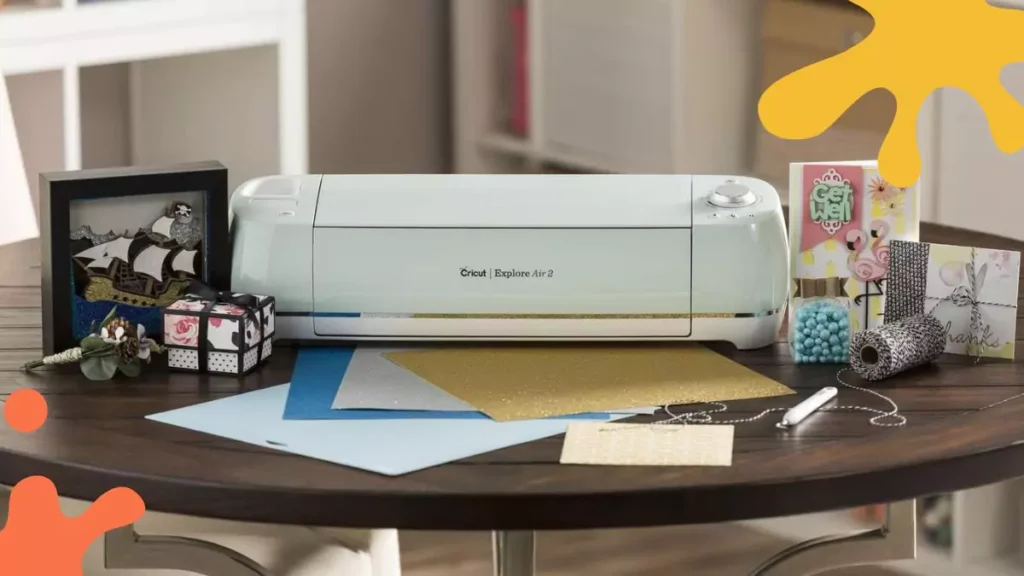
- Cricut or Similar Cutting Machine: Essential for precise cuts, especially for intricate designs like custom gift tags or decorative elements.
- Design Software: Adobe Illustrator and Canva are excellent for designing printables. They offer a range of tools catering to beginners and advanced users.
- Tag Punch and Embellishments: For handmade gift tags, a tag punch, ribbons, and optional stamps or stickers can add a personalized flair to your creations.
Additional Supplies
- Gel Pens and Markers: Store your gel pens upside down to maintain ink flow. Use vibrant markers to add a pop of color to your printables.
- Ribbon and Twine: Perfect for tying tags to gifts or adding a decorative touch to your printables.
- Glue and Scissors: Essential for assembling your crafts and ensuring everything stays in place.
With these materials and tools, you’re well-equipped to create stunning, personalized printables that will add a special touch to your Mother’s Day celebration.
Finding Inspiration and Ideas
When seeking inspiration for your Mother’s Day printables, consider exploring a variety of online platforms and creative resources. Pinterest is a treasure trove for ideas, where you can find boards like “Printable Gift Ideas” by East Street Creative, featuring everything from printable decor to wall art. Dive into specific categories, such as Inspirational Quotes or Empowering Quotes, to find resonant messages. Additionally, Pinterest’s “DIY: Free Printables and Gift Ideas” by Mama Cheaps offers creative suggestions like DIY Spa Day At Home and worksheets that could be transformed into personalized gifts.
Etsy is another excellent source for unique printable gift ideas. With over a thousand listings under DIY printable gifts, you can filter your search by price range, shipping options, and more to find the perfect template. Some intriguing finds include a DIY Treasure Map Printable and a Dinner Murder Mystery Escape Room Game, which are fun and offer a memorable experience. For those who prefer crafting with a natural touch, the DIY Natural Gifts + Craft Recipes + Printables post provides recipes and printable labels for creating homemade gifts using essential oils.
For those who enjoy crafting with family, engaging in DIY projects can be an excellent way to spend quality time together while creating something unique. Consider using resources like the Celebrate with Tags stamp set from Klump Stampers to design custom gift tags, or draw inspiration from the myriad of crafting ideas available on DIY Mommy blogs and Sewing Projects and Ideas websites, which offer printable gift planners and quick gift ideas. Whether creating a simple printable card or an elaborate handmade gift, the key is to add a personal touch that reflects your appreciation and love for your mom.
Design Tips for Stunning Printables
To create visually appealing and effective Mother’s Day printables, begin by mastering the tools and techniques that bring your creative ideas to life. Utilizing design software like Canva or Adobe Illustrator, you can start by selecting a harmonious color palette and cohesive fonts. This foundational step ensures your printables maintain a professional and attractive look. For Mother’s Day themes, consider soft pastels or vibrant spring colors paired with elegant or whimsical font styles, depending on the mood you wish to convey.
Effective Use of Design Tools and Techniques
- Slice and Attach Tools: In Cricut Design Space, use the Slice tool to merge text with shapes effectively, eliminating unnecessary spaces for a cleaner look. Follow up with the Attach tool to ensure that your cuts and text-align perfectly on the same plane.
- Stenciled Effects and Ink-Saving Tips: Flip the sticker paper to peel the tag smoothly from the backing, preventing any curling. Opt for stencil fonts to achieve a unique look. To conserve ink, remove background colors and, instead, use colored paper for your printables.
- Handwritten Touches: Consider handwriting messages on your printables for that personal feel. This adds a unique, heartfelt touch that printed text cannot replicate.
Template Use and Protection Strategies
- Using Templates: For those new to designing or short on time, utilize pre-designed gift tag templates. These can be a great starting point and can be customized to fit the occasion.
- Protecting Your Work: If sharing your designs online, consider creating password-protected PDFs. Include a disclaimer to safeguard your creative rights, ensuring your designs are used respectfully and legally.
By integrating these design tips and leveraging the right tools, your Mother’s Day printables will look professional and carry a personal touch that makes them stand out. Whether you’re crafting gift tags, cards, or wall art, these strategies will help enhance your creations, making them memorable gifts for this special occasion.
Step-by-Step Guide to Creating a Mother’s Day Card
Preparing Your Materials
- Gather Your Supplies: Download a free Mother’s Day card template. Ensure you have cardstock, scissors, a glue gun, and embellishments like pearls.
- Print the Template: Use a color printer to print the template on cardstock for durability. This will form the base of your card.
Crafting the Card
- Fold the Cardstock: Fold the printed sheet of cardstock in half to create the card body. This will be the foundation on which you will build your pop-up feature.
- Cut and Assemble the Orchid: Cut out the orchid shapes following the template. Use a glue stick to curl the petal ends slightly for a more natural look, then assemble the petals using a glue gun.
- Attach the Orchid: Secure the completed orchid to the inside of the card using hot glue. Position it so that it pops up when the card is opened.
Adding Final Touches
- Embellish Your Card: Add pearls or other decorative elements to enhance the visual appeal of your card. These small details can make your card stand out.
- Personalize Your Message: Write a heartfelt message inside the card. Handwriting adds a personal touch that makes the card even more special.
Following these steps, you can create a beautiful, handmade Mother’s Day card to impress you. Remember, the key is in the details and the personal touches you add.
Crafting Custom Gift Tags
Creating personalized gift tags adds a unique and thoughtful touch to any Mother’s Day gift. Here’s how you can craft your own using various methods and tools.
Utilizing Digital Tools for Precision
Cricut Machine:
- Project Setup: Open Design Space and select the ‘Sticker Paper Birthday Tag’ project.
- Personalization: Customize the name in the project to match your recipient’s name.
- Design Integration: The ‘Slice’ tool combines text and tag shapes, facilitating easier cutting.
- Preparation for Cutting: Attach all parts using the ‘Attach’ tool to ensure they are connected and cut on the same plane.
- Cutting Process: Load your materials into the Cricut machine and place the gel pen in Carriage A and the fine point blade in Carriage B. Then, follow the instructions in Design Space to align and cut the material.
Microsoft Word:
- Theme and Design: Develop a theme for your gift tags and search for relevant images with transparent backgrounds (PNG format).
- Creating the Tag: In Word, start with a blank document, add a page border, and use the ‘Top Corners Snipped’ shape for the tag.
- Image and Text Insertion: Insert your chosen image and add a text box with a custom greeting.
- Final Adjustments: Ensure all elements are correctly aligned and spaced, then print on quality cardstock.
Handcrafting with Traditional Materials
Using Recycled Materials:
- Magazine Cuttings: Find appealing images and paste them onto cardstock.
- Write a personal message on the back, punch a hole at the top, and attach it to your gift.
- Repurposed Greeting Cards: Cut out desired shapes from old greeting cards.
- Add a personal note on the back, punch a hole, and use it as a gift tag.
- Custom Cardstock Tags: Design and cut unique shapes from cardstock.
- Decorate, write a personal message, and attach it to the gift after drying.
Leveraging Online Design Platforms
Canva and Procreate:
- Creating Art: Design clip art in Procreate and import it into Canva.
- Tag Design: Choose a gift tag template in Canva, adjust the size, and place your clip art.
- Text Addition: Keep the text simple and festive, enhancing the tag’s visual appeal.
- Printing: Print your tags on sturdy materials like cardstock to ensure durability and a premium feel.
By employing these varied techniques, you can create gift tags that enhance the visual appeal of your gifts and add a personal touch that your mom will surely appreciate. Whether you use digital tools for a polished look or traditional materials for a handmade charm, your custom gift tags will make your Mother’s Day gifts stand out.
Creating a Mother’s Day Photo Frame
To create a charming and personalized Mother’s Day photo frame, you can use simple materials and creativity to craft something extraordinary. Here are a few ideas to get you started:
Egg Carton Flower Frame
- Prepare the Base: Cut out a large rectangle from thin cardboard to serve as the base of your frame.
- Craft the Flowers: Use an egg carton to create flower shapes. Paint these flowers in your chosen colors and allow them to dry.
- Assemble the Frame: Paint the cardboard base in a color that complements your flowers. Once dry, glue the egg carton flowers and any additional embellishments to the frame.
- Attach the Photo: Glue your favorite family photo to the back of the frame, ensuring it’s centered and visible.
Fingerprint Art Frame
- Select the Frame: Choose flat white picture frames in various sizes.
- Add Fingerprints: Use different paint colors to add fingerprints in a random pattern on the frame. This creates a playful and colorful border.
- Dry and Assemble: Allow the paint to dry completely before placing the glass back into the frame.
- Gift Tag: Finish the frame with a printable Mother’s Day gift tag for a festive touch.
Handprint Mat Frame
- Prepare the Mat: Take a large, thick photo mat paper.
- Add Handprints: Paint your child’s hands and carefully press them onto the mat to leave handprints.
- Personalize: Use a Sharpie to add names, ages, or a sweet message if there’s room.
- Assemble the Frame: Insert the decorated mat into a frame paired with a beautiful Hallmark Signature card for an elegant presentation.
These DIY photo frame ideas offer a fun crafting experience and result in a heartfelt gift that captures the essence of Mother’s Day. Each frame carries a personal touch that celebrates the special moments and memories shared with Mom.
Packaging and Presentation Tips
When presenting your Mother’s Day printables and gifts, the packaging can significantly enhance your gift’s perceived value and emotional impact. Here are some tips to ensure your packaging is as unique as the contents inside:
Selecting the Right Materials
Choose packaging materials that reflect your brand’s identity and the personal touch you wish to convey. Opt for thicker paper for wrapping as it is easier to trim and wrap, providing a clean and professional look. Utilize wrapping paper with a grid pattern on the back, which can assist in cutting straight lines and achieving a perfect wrap. Use double-sided tape instead of regular tape for a neat and seamless finish.
Practical and Attractive Packaging Solutions
- Protection and Practicality: Ensure that your packaging looks good and protects the contents. Squared or rectangular gift boxes are more accessible to wrap and secure for delicate items like jewelry or 3D-printed gifts.
- Personalization: Incorporate elements that personalize the packaging to the recipient. This could include using custom labels or crafting a gift card pouch. Adding a handwritten note or a special ribbon can make the package more personalized and thoughtful.
- Consistency is Key: Maintain a consistent look across all your packaging elements to strengthen your brand identity. This includes using the same color schemes, logos, and design motifs.
Creative Presentation Ideas
- 3D Printed Gifts: Creatively present these innovative gifts by considering the recipient’s interests. Customize the design with a thoughtful message and ensure print quality by selecting appropriate settings and materials.
- Breakfast-in-Bed Kit: Package this charming idea with printable elements neatly arranged in a custom-designed box or basket, enhancing the overall experience and presentation.
By focusing on these aspects, your DIY packaging will look attractive and create a memorable unboxing experience for Mother’s Day, strengthening the personal connection with your gift’s recipient.
Designing Printable Wall Art
To create personalized Mother’s Day wall art, open Canva and select “Create a design.” Choose “Custom size” and input your desired dimensions, such as 16×20 inches for a large print or 5×7 inches for a smaller piece suitable for framing. This size flexibility allows you to cater to various display options, from prominent wall hangings to subtle accent pieces.
Step-by-Step Creation Process
- Select a Background: Once your dimensions are set, choose a background color or pattern from Canva’s extensive library to complement your design theme.
- Add Text and Graphics: Click on “Text” to add headings or messages. Customize the font, size, and position to suit your layout. To include personal touches like a family quote or significant dates, upload custom graphics by clicking “Upload” and then “Upload media.” Drag these images onto your artboard and adjust their size and position.
- Finalize Your Design: After arranging your text and graphics, ensure the background and elements harmonize without overcrowding. Save your design as a high-resolution PDF by selecting “Share,” then “Download,” and choosing “PDF Print” with the “CMYK” setting for the best print quality.
For those looking to sell their designs, consider creating different size options and using the Canvas clever mock-up feature to generate appealing product images for your Etsy store. Ensure your artwork is saved in multiple formats, such as JPEG for easy sharing and PDF for high-quality prints. This approach enhances the appeal of your printable wall art and increases its marketability, making it a perfect gift or a sellable product for Mother’s Day.
Designing Custom Gift Tags
When designing custom gift tags for Mother’s Day, consider taking advantage of special offers such as the one from TeNavi, which provides a 20% discount on purchases of two or more items with the code MOM20. This can be especially useful if you plan to create multiple gift tags or combine your tag project with other printable items.
Utilizing Discounts Effectively
- Plan Your Purchase: Before starting your design, plan how many items you need to use the discount effectively. Buying them together can save you money if you’re considering additional Mother’s Day projects, such as creating matching cards or printable decorations.
- Apply the Discount Code: When you’re ready to checkout, remember to apply the MOM20 discount code to receive 20% off your purchase of two or more items. This can significantly reduce costs, allowing you to allocate your budget to other areas of your Mother’s Day celebration.
Creative Ideas for Gift Tags
- Photo Tags: Incorporate a small, printed photo of you and your mom onto the tag for a personalized touch.
- Themed Tags: Design tags that match the theme of your Mother’s Day gift or activity. For example, if you’re planning a spa day, create tags with a soothing, serene design.
- Interactive Tags: Make your tags more engaging by adding QR codes that link to a digital Mother’s Day card or a personal video message.
By integrating these strategies and ideas, you can enhance your Mother’s Day celebration with beautifully designed, cost-effective custom gift tags. Remember to leverage available discounts like the one from TeNavi to make the most of your crafting budget.
Incorporating Printables into Mother’s Day Celebrations
To make Mother’s Day truly special, consider incorporating a variety of free Mother’s Day printables into your celebration. These printables not only add a personalized touch but also create lasting memories. Here’s how you can seamlessly integrate these elements into your Mother’s Day festivities:
Utilize Printable Coupons and Menus
- Printable Coupons: Offer mom a book of printable coupons, including promises for chores, a day of pampering, or future outings. These coupons can be a fun and enduring gift extending joy beyond Mother’s Day.
- Breakfast in Bed: Enhance a classic breakfast in bed with a beautifully designed printable menu. Add matching printable placemats, napkins, and a banner to complete the setting, making the morning meal delicious and visually appealing.
Engage in Crafting with Printable Projects
- Crafts for Kids: Let the kids get involved by downloading Mother’s Day craft printables. Options like pop-out cards, coloring sheets, and simple flower crafts allow children of all ages to create personalized gifts that celebrate Mom.
- DIY Decor: Create a festive atmosphere by crafting a printable Mother’s Day crown or make tissue paper flowers using free templates. These activities add to the decor and provide a fun crafting experience for the family.
Create Heartfelt Gifts
- Memory Books and Handmade Gifts: Download templates like the “Mommy and Me Memory Book” to compile cherished memories and moments. Use printables to create unique gifts such as a “Just a few reasons I love you” notecard or egg carton lilies with love leaves, adding a deeply personal touch to your gifts.
By integrating these printable elements, you can craft a customized and memorable celebration that genuinely honors the mothers in your life. Whether through decorative touches, heartfelt gifts, or engaging activities, printables offer endless possibilities to enhance your Mother’s Day festivities.
Print and Presentation Tips
Understanding File Types and Their Uses
When downloading free Mother’s Day printables, you’ll encounter different file types, each suitable for specific uses:
- PDF Files: Most common and ideal for all kinds of printables. They maintain layout and formatting consistently across all devices.
- JPG Files: Best for photo-heavy designs due to their high quality in handling color and detail.
- PNG Files: Perfect for designs that require a transparent background, functional for overlays or combining with other images.
Choosing the Right Printer and Paper
Selecting the appropriate printer and paper type is crucial for achieving the best print quality:
- Home Printing: Use an inkjet printer like the Canon Pixma MX532 for everyday printing. It’s cost-effective for small-scale projects.
- Professional Printing: For high-quality prints like announcements or invitations, services like Vista Prints or local shops like Office Max provide professional results with various paper options.
- Paper Choices: Opt for cardstock paper for cards and display items, which offers durability and a premium feel.
Preparing and Printing Your Files
Properly setting up your files ensures that your printouts look precisely as intended:
- File Preparation: Open your printable files in Acrobat Reader for PDFs or Photoshop for images. Check the print settings carefully.
- Printer Settings: In the print dialogue box, select the correct paper size, scale to fit, and choose the right paper type to match your material.
- Color Settings: Use RGB color mode for most home printers. If available, switch to CMYK for enhanced color quality in professional prints.
Following these guidelines ensures that your Mother’s Day printables look great and make a lasting impression. Whether you’re printing at home or opting for a professional service, the proper preparations will lead to successful and stunning results.
Follow us on our Instagram page
Top 10 Printable Ideas for Mother’s Day
Explore Diverse Printable Options
- Banners and Cards: Kick off your Mother’s Day celebration with beautifully designed banners and heartfelt cards. These printables can easily be customized to carry personal messages and festive designs.
- Food Labels and Photo Booth Printables: Enhance your Mother’s Day brunch or party with stylish food labels that match your theme. Set up a fun photo booth using printable props and backdrops for memorable photos.
- Cupcake Toppers: Add a sweet touch to your desserts with printable cupcake toppers. These can feature Mother’s Day wishes or cute graphics complementing your party decor.
Craft and Gift Printables
- Hand-painted Flower Pots: Utilize printables for a guided painting session on terra-cotta pots. Fill these pots with a favorite plant or herb as a living gift.
- Paper Flowers: Create lasting bouquets of paper flowers from printables. These can be made from various paper types and colors to mimic real flowers or fantastical creations.
- Personalized Photo Books: Compile a year’s worth of memories or highlight a memorable trip with a printable photo book template. This thoughtful gift is perfect for capturing precious moments.
Unique and Creative Ideas
- DIY Jewelry: Offer a crafty touch with printable patterns for making simple yet elegant jewelry. This can be an enjoyable activity, resulting in a meaningful gift.
- Breakfast in Bed Kit: Assemble a complete breakfast-in-bed experience using printables for menus, placemats, and personalized napkin rings.
- Custom Terrarium: Combine a printable guide with a live crafting session to create a custom terrarium, providing a green and growing gift.
- Acrylic Photo Blocks and Pinch Pots: Craft unique decor pieces like acrylic photo blocks, or use air-dry clay with printable guides to make decorative pinch pots.
These ideas enhance the celebration and add a personal touch to your gifts, making Mother’s Day even more special and memorable. Whether you create decorative items or functional gifts, these printables offer a range of options to suit any mother’s taste and style.
Creating a Printable Mother’s Day Banner
Creating a vibrant and personalized Mother’s Day banner can be a delightful project that adds a special touch to your celebration. Here are a few creative methods to craft a banner to impress you.
Method 1: Paper Fan Circle Banner
- Prepare Paper Fans: Fold each sheet of colored paper in half and staple the halves together to form individual fans.
- Assemble the Circle: Attach the paper fans side by side to form a complete circle. Use a clear fishing wire to string through the middle of the circle, allowing you to hang the banner effectively.
2: Fabric Triangle Banner
- Cut Fabric Triangles: Create a pattern on paper for your triangles, measure from the center outward, and cut the fabric, allowing for seam allowance.
- Sew and Decorate: Glue letter patterns on the wrong side of the fabric, fold over, sew around the edges, and iron the triangles. Attach these to a ribbon by folding the ribbon over the top edge of the triangles and sewing it in place.
3: Fresh Flower Banner
- Prepare the Base: Use a banner template to cut out the desired shape from cardboard. Trace and cut out the letters using a white paint pen based on a wording template.
- Decorate with Flowers: Use hot glue to attach fresh flowers directly onto the cardboard once the paint is dry. Hang the banner using Command poster strips or display it on a table or mantle.
Each method offers a unique aesthetic and can be chosen based on the materials available and the desired look for your Mother’s Day celebration. Whether you opt for colorful paper fans, elegant fabric, or natural flowers, your banner will surely add a festive and heartfelt touch to the occasion.
Conclusion
Embracing the spirit of creativity and personal touch, the journey through crafting with free Mother’s Day printables offers an enriching and heartfelt way to celebrate the incredible women in our lives. From customized gift tags to memorable photo frames and from thoughtful banners to loving cards, each craft is a testament to our love and appreciation for our mothers. These projects create cherished memories and highlight the significance of personal effort and time invested in showcasing our gratitude.
As we wrap up, remember that the essence of Mother’s Day lies in the gestures of love and appreciation we show. Crafting unique gifts with a personal touch can make this occasion even more special. Whether you’re a seasoned crafter or trying your hand at DIY for the first time, these printables provide an excellent starting point to add a personalized touch to your celebrations. So don’t wait. Download it now and make this Mother’s Day unforgettable for Mom, turning simple moments into precious memories that will be cherished for years.